Intro
One of the easiest way to connect your Github account with your git installed on Windows is through Github Desktop. But, we can’t use that on wsl, so we use PAT(personal access token) to resolve this issue!
Steps to setup on Windows 11
- install git on Windows
- install Github Desktop
- Login your Github Desktop with your Github account
install git on WSL 2
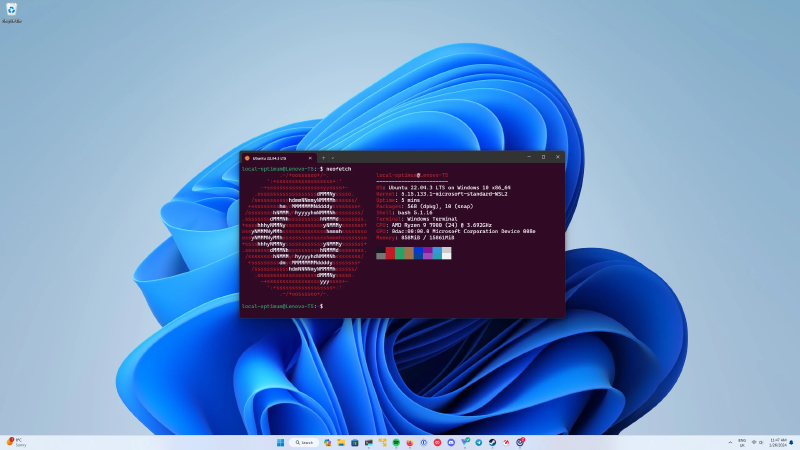
- prerequisites: WSL2, Ubuntu distro
- if your Ubuntu distro hadn’t already install git (which in my case is already installed), or you can install it with
|
|
- check git version with
|
|
- setup git global config
|
|
install Github CLI
-
download and install Github CLI following this tutorial. In Ubuntu, you can install it with apt.
-
login in the Github website
|
|
- test: clone, commit and try to push a github repo
|
|
- output example:
|
|
Get verified tag ever when you commits

-
Generate a GPG Key:
Open a terminal and generate a new GPG key pair:
1gpg --full-generate-keyFollow the prompts to create your key. Choose the following options when prompted:
- Select kind of key:
(1) RSA and RSA (default) - Key size:
4096 - Key expiration:
0(never expires)
- Select kind of key:
-
List Your GPG Keys:
After generating your key, you can list your keys to get the key ID:
1gpg --list-secret-keys --keyid-format LONGLook for the
secsection and note down thelong key ID. -
Copy Your GPG Key:
Use the
long key IDto copy your GPG key:1gpg --armor --export <your-long-key-id> > my-gpg-key.asc -
add GPG key to Github account
Use the File Path with GitHub CLI:
Now, you can use the file path with GitHub CLI:
1gh gpg-key add my-gpg-key.ascYes, you can use GitHub CLI (gh) to simplify the process of adding your GPG key to GitHub. Here are the steps to do so:
-
Configure Git to Sign Your Commits:
Configure Git to use your GPG key for signing commits:
1
2
git config --global user.signingkey <your-long-key-id> git config --global commit.gpgSign true -
Make and Sign a Commit:
Make a new commit and push it to GitHub. The commit should be signed automatically if you enabled commit signing by default:
1
2
git commit -m "Your commit message" git pushTo manually sign a commit, use the
-Sflag:1git commit -S -m "Your commit message"
These steps leverage GitHub CLI to streamline the process of adding your GPG key to GitHub and configuring Git to sign your commits.